greenDAO is an open source Android ORM making development for SQLite databases fun again. It relieves developers from dealing with low-level database requirements while saving development time An ORM is a layer between the relational SQLite database and the object-oriented app code. The ORM allows the developer to use the database without the need to transform objects into a format suited for the relational database.
At the end of this tutorial you should be able to integrate GreenDao into your android application in less than 10 minutes.
Features of greenDao
- Maximum performance (probably the fastest ORM for Android); our benchmarks are open sourced too
- Easy to use powerful APIs covering relations and joins
- Minimal memory consumption
- Small library size (<100KB) to keep your build times low and to avoid the 65k method limit
- Database encryption: greenDAO supports SQLCipher to keep your user’s data safe
- Strong community: More than 5.000 GitHub stars show there is a strong and active community
Step 1
If you have an app already you can skip this step otherwise Create an android project from Android Studio. File->New->New Project
Step 2
Go to your build.gradle(Module:app) app level gradle file add ‘org.greenrobot:greendao:3.2.0’ to your dependencies then sync the gradle file

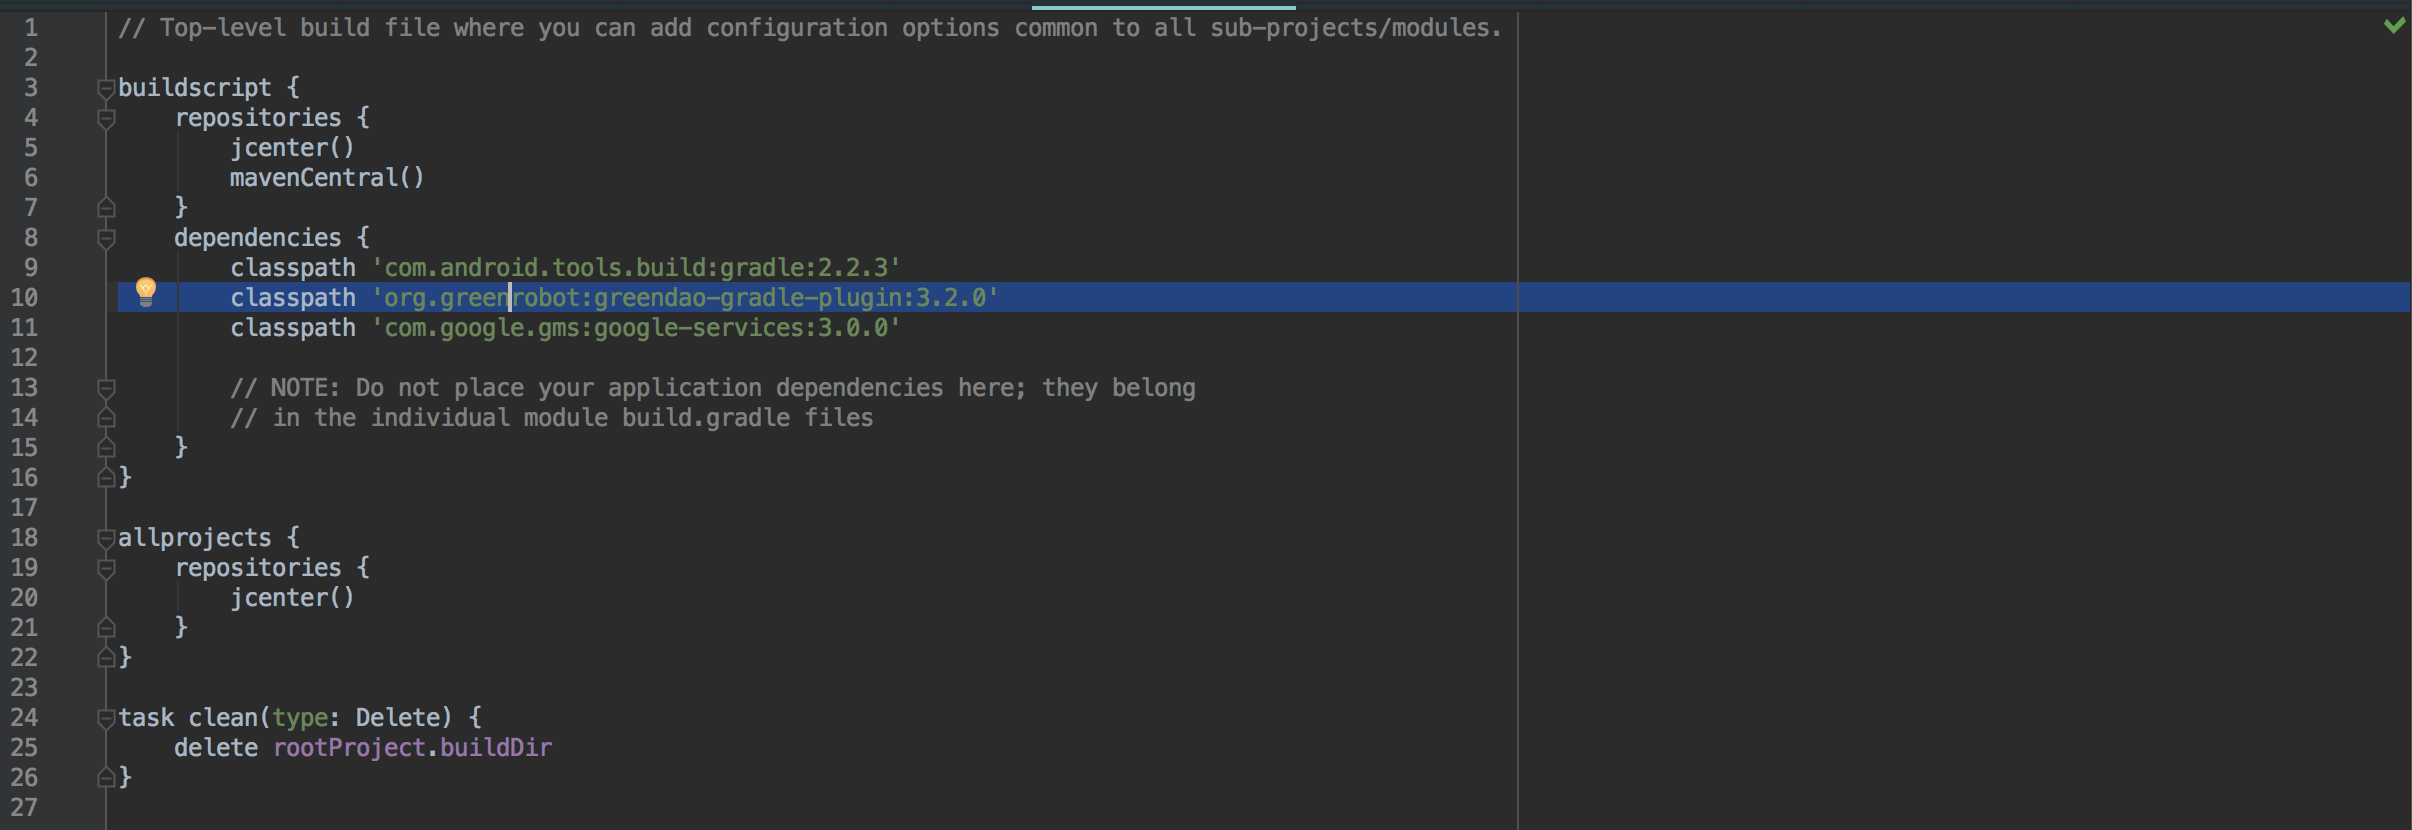
Step 3
Go to your build.gradle(Prioject:greendaoapp) project level gradle file and add org.greenrobot:greendao-gradle-plugin:3.2.0 as a class path to your dependencies then sync the gradle file
Step 4
In this step we are going to create a greenDao generator, This generator will be responsible for auto creating entities and dao files. If you want to read more about this visit GreenDao Generator
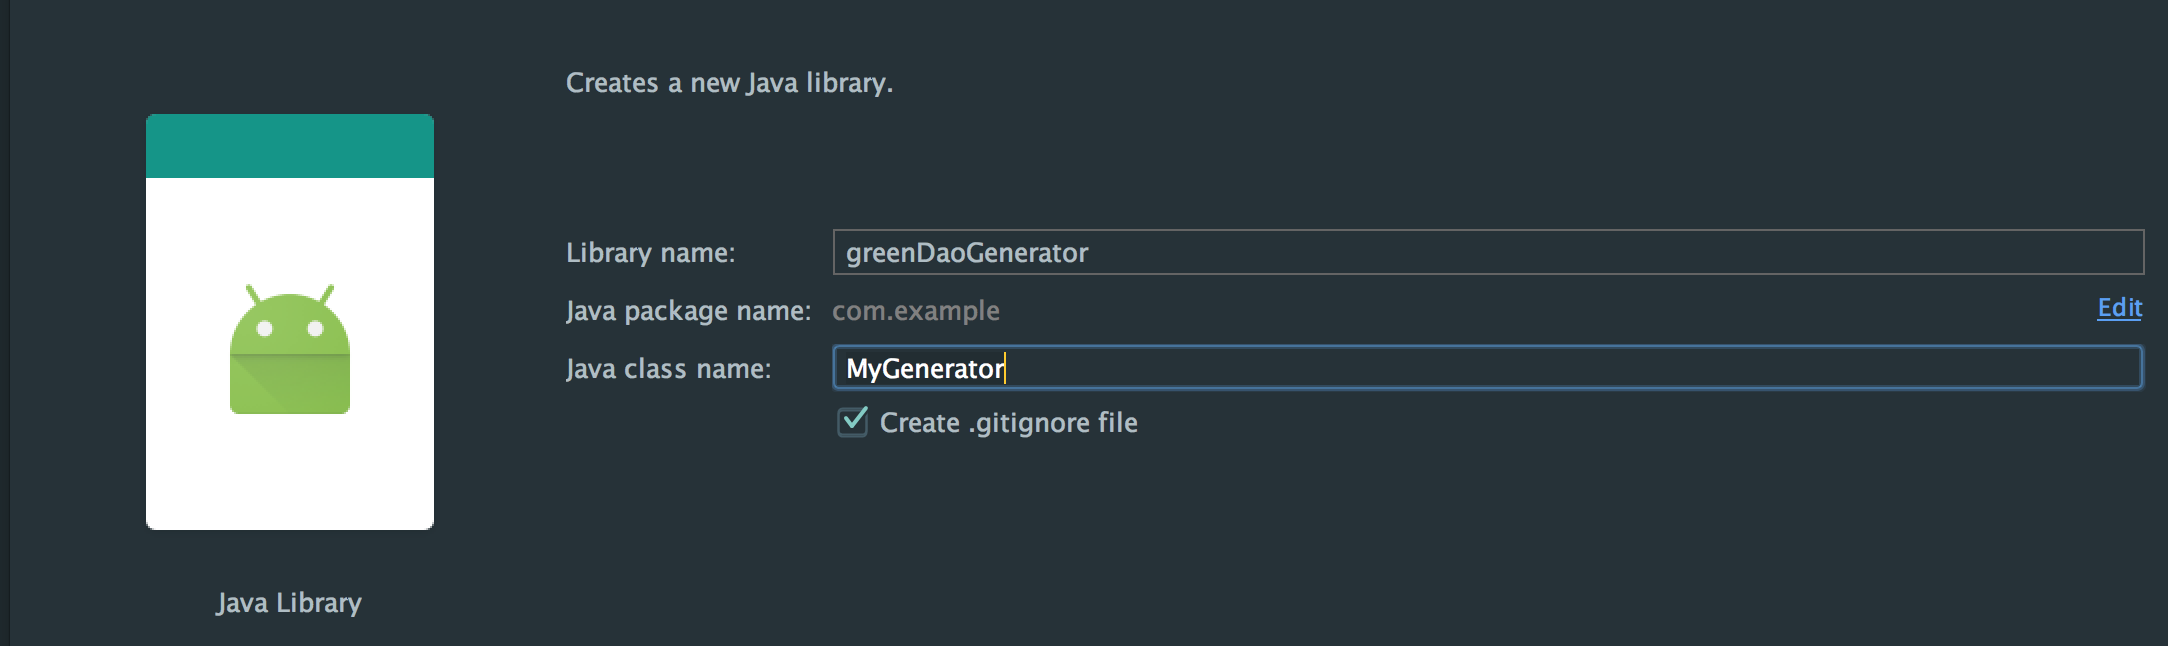
- Create a module by going to File->New->Module
- Select “Java Library” and Click Next
- Give the module a name “Here we will use - greenDaoGenerator”
- Package name “Here we use - com.greendao”
- Java Class Name “Here we use - MyGenerator”
- Click Finish
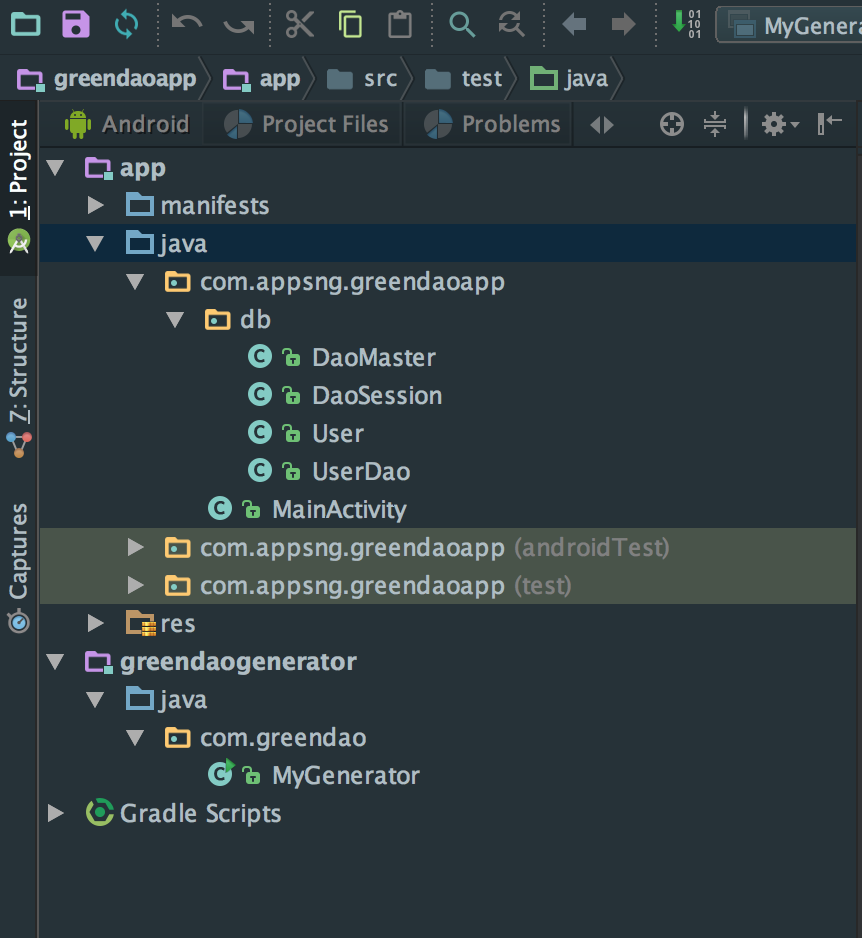
You will notice your project folder structure now contains two modules. One app and the other greendaogenerator

Step 5
Open the gradle for the new module and add org.greenrobot:greendao-generator:3.2.0 to the dependencies then sync.

Step 6
Now we are going to modify our generator class so we can generate the dao files and entities (Tables). In this example we will be creating a table called users
with columns user_id,last_name,first_name,email.
See updated generator class below.
package com.greendao;

import org.greenrobot.greendao.generator.DaoGenerator;
import org.greenrobot.greendao.generator.Entity;
import org.greenrobot.greendao.generator.Schema;

public class MyGenerator {
    public static void main(String[] args) {
        Schema schema = new Schema(1, "com.appsng.greendaoapp.db"); // Your app package name and the (.db) is the folder where the DAO files will be generated into.
        schema.enableKeepSectionsByDefault();

        addTables(schema);

        try {
            new DaoGenerator().generateAll(schema,"./app/src/main/java");
        } catch (Exception e) {
            e.printStackTrace();
        }
    }

    private static void addTables(final Schema schema) {
        addUserEntities(schema);
       // addPhonesEntities(schema);
    }

    // This is use to describe the colums of your table
    private static Entity addUserEntities(final Schema schema) {
        Entity user = schema.addEntity("User");
        user.addIdProperty().primaryKey().autoincrement();
        user.addIntProperty("user_id").notNull();
        user.addStringProperty("last_name");
        user.addStringProperty("first_name");
        user.addStringProperty("email");
        return user;
    }

 //    private static Entity addPhonesEntities(final Schema schema) {
 //        Entity phone = schema.addEntity("Phone");
 //        phone.addIdProperty().primaryKey().autoincrement();
 //        phone.addIntProperty("user_id").notNull();
 //        phone.addStringProperty("number");
 //        return phone;
 //    }
}
After this run the generator class. Right click on the generator class then Run ‘MyGenerator.main()’ in this case

This will run for a while, if properly done as explained you will get a success response at the end of the execution. After a success response go back to your main app, you should see a new folder called db with DAO files generated and Table entities(models)
If yes that means we are good to go.
Step 7
In your main app create a class extending the Application Object. In this case I created a class called AppController. Remember to make the name of your application in your AndroidManifest.xml file
    <?xml version="1.0" encoding="utf-8"?>
    <manifest xmlns:android="http://schemas.android.com/apk/res/android"
        package="com.appsng.greendaoapp" >

        <application
            android:name=".AppController"
            android:allowBackup="true"
            android:icon="@mipmap/ic_launcher"
            android:label="@string/app_name"
            android:supportsRtl="true"
            android:theme="@style/AppTheme" >
            <activity android:name=".MainActivity" >
                <intent-filter>
                    <action android:name="android.intent.action.MAIN" />

                    <category android:name="android.intent.category.LAUNCHER" />
                </intent-filter>
            </activity>
        </application>

    </manifest>
Step 8
Go back to the AppController class and modify it. See updated AppController class below. See explanation in comments.
package com.appsng.greendaoapp;

import android.app.Application;

import com.appsng.greendaoapp.db.DaoMaster;
import com.appsng.greendaoapp.db.DaoSession;

import org.greenrobot.greendao.database.Database;

/**
 * Created by Akinsete on 1/14/16.
 */

public class AppController extends Application {

    public static final boolean ENCRYPTED = true;
    private DaoSession daoSession;

    @Override
    public void onCreate() {
        super.onCreate();

        DaoMaster.DevOpenHelper helper = new DaoMaster.DevOpenHelper(this,"users-db"); //The users-db here is the name of our database.
        Database db = helper.getWritableDb();
        daoSession = new DaoMaster(db).newSession();

        ///// Using the below lines of code we can toggle ENCRYPTED to true or false in other to use either an encrypted database or not.
//      DaoMaster.DevOpenHelper helper = new DaoMaster.DevOpenHelper(this, ENCRYPTED ? "users-db-encrypted" : "users-db");
//      Database db = ENCRYPTED ? helper.getEncryptedWritableDb("super-secret") : helper.getWritableDb();
//      daoSession = new DaoMaster(db).newSession();
    }

    public DaoSession getDaoSession() {
        return daoSession;
    }

}
And that’s it we have successfully integrated greenDao into our android application. So if you choose to add other tables go to the generator class edit the entities then run the generator class, it will generate the DAO files and other entities needed.
In the next tutorial. (Interacting with android SQLite using greenDao) I will be explaining in details how to query and interact with our newly integrated ORM for Sqlite management.
Access full project here Github Repo
I hope this is useful if you have any issues at all please feel free to drop a comment.
Cheers
Happy coding.